@Jetson YOLO: Setup the Environment Using Anaconda
This is the chapter where most Jetson YOLO setups either become stable or turn into dependency drift. The important thing is not only to create a conda environment, but to keep Python, PyTorch, Torchvision, JetPack, and TensorRT compatible with each other.
Create a Conda Environment
After rebooting, open the terminal. If Anaconda was initialized correctly, you should see (base) before your username.
Check the interpreter:
which python
which pip
pip --version
python --version
If the paths point into your anaconda3 directory, the base environment is working correctly.
Now create a dedicated environment for YOLOv8 with Python 3.8:
conda create -n yolov8 python=3.8
conda activate yolov8
After activation, verify the environment again:
which python
which pip
python --version
pip --version
You want the Python path to point into:
/home/yourusername/anaconda3/envs/yolov8/If you want to leave the environment later:
conda deactivateCheck Python Extensions in VS Code
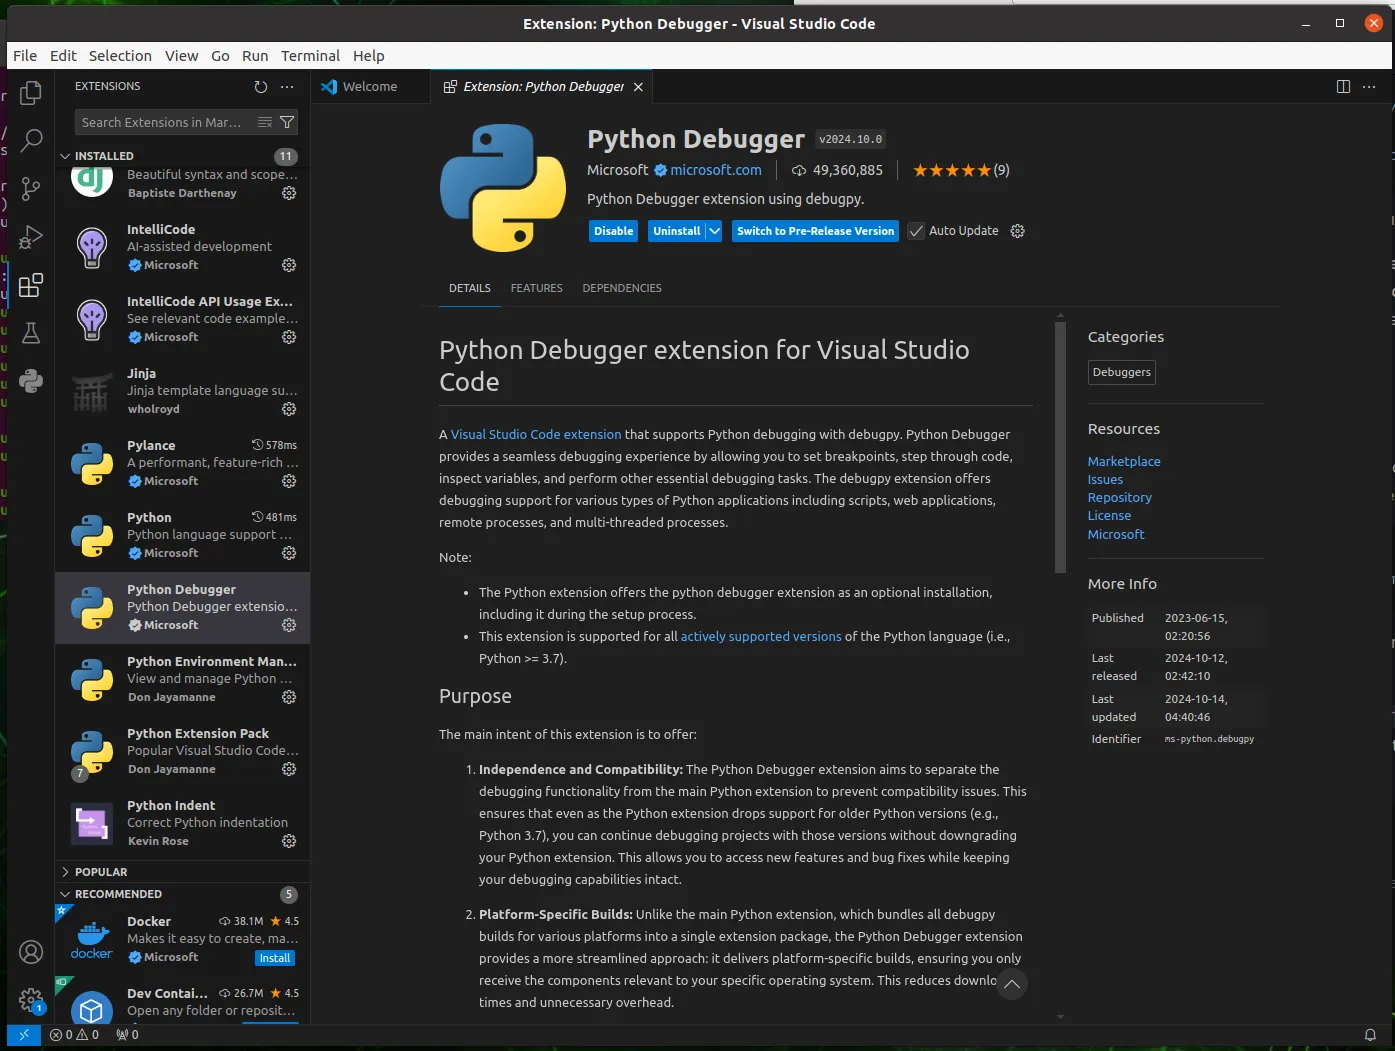
Open VS Code and inspect the Python-related extensions in the extensions sidebar.
Install Ultralytics
Important: all operations below should be done inside the
yolov8environment.
sudo apt update
pip install ultralytics[export]
If you are in mainland China:
pip install ultralytics[export] -i https://pypi.tuna.tsinghua.edu.cn/simpleThen inspect installed packages:
pip list
conda list
Replace the Default Torch Installation
The default pip install ultralytics[export] path usually installs PyTorch and Torchvision builds that are not suitable for Jetson ARM64. So the usual next step is:
- uninstall the wrong Torch packages
- install the JetPack-compatible PyTorch wheel
- build or install the matching Torchvision version
Remove Existing Torch Packages
pip uninstall torch torchvisionInstall PyTorch 2.1.0 for JetPack 5.1.3
The version compatibility matters here:
cp38means Python 3.8linux_aarch64means ARM64, which matches Jetson
cd ~/Downloads
sudo apt-get install -y libopenblas-base libopenmpi-dev
wget https://developer.download.nvidia.com/compute/redist/jp/v512/pytorch/torch-2.1.0a0+41361538.nv23.06-cp38-cp38-linux_aarch64.whl -O torch-2.1.0a0+41361538.nv23.06-cp38-cp38-linux_aarch64.whl
pip install torch-2.1.0a0+41361538.nv23.06-cp38-cp38-linux_aarch64.whl
Install Torchvision 0.16.2
sudo apt install -y libjpeg-dev zlib1g-dev
mkdir -p ~/Dependency
cd ~/Dependency
git clone https://github.com/pytorch/vision torchvision
cd torchvision
git checkout v0.16.2
python3 setup.py install --user
If you need a mainland China mirror:
git clone https://gitclone.com/github.com/pytorch/vision torchvisionCopy TensorRT into the Conda Environment
Jetson ships with a TensorRT installation tied to JetPack, so sometimes the final missing step is to make those Python-side libraries visible inside your conda environment.
conda deactivate
conda deactivate
pip show tensorrt
cp -r /path/to/your/tensorrt* /home/yourusername/anaconda3/envs/yolov8/lib/python3.8/site-packages/
conda activate yolov8
pip show tensorrt
On many systems the source location looks like:
/usr/lib/python3.8/dist-packages/Final Checklist
If everything is aligned, your environment should now satisfy this chain:
- Python 3.8 in conda
- JetPack 5.1.3-compatible PyTorch wheel
- matching Torchvision version
- TensorRT visible from inside the
yolov8environment
This setup work is the price of deploying on Jetson, but once it is correct, the later inference steps become much more predictable.